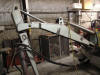
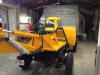
First off the steel was stripped and sanded heavily to get rid of whatever scale it had on it, as it was a bit rough in areas.
Only the arm and pedestal will get painted this go around (yellow) and then the rear deck of the truck will get final prep and paint (black) as the last step.
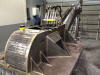
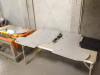
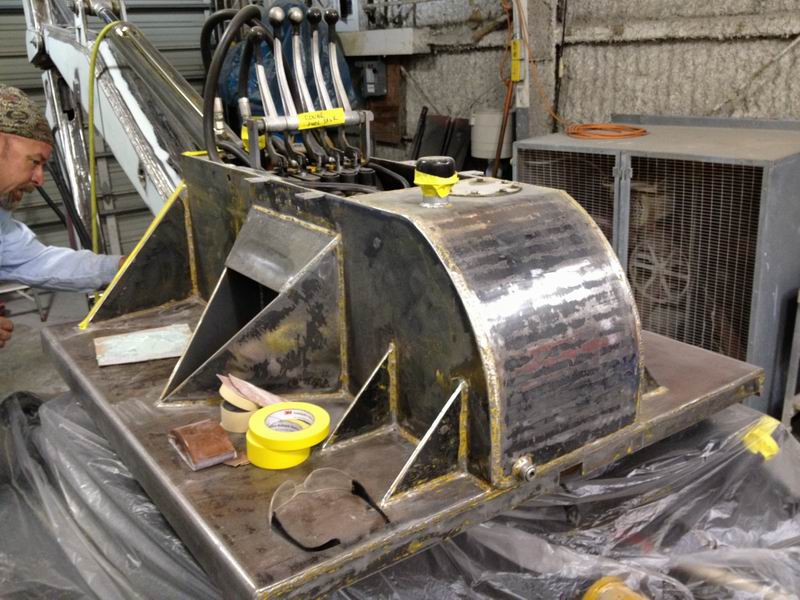
Here the deck is completely stripped and some of the rough welds were cleaned up a bit.
Then a skim coat of filler was applied. Most of it was sanded away but it was worth the extra effort. Little details like this will really show once the paint is applied.
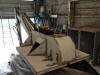
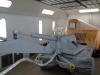
Back in the booth and ready for some primer.
Next step, the topcoat! A little side note for all you inspiring painters out there. Aluminum foil makes for an excellent source for covering pipes and hoses prior to any painting!
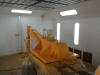
Top coat is finished and in the morning we’ll get to unwrap and bask in the glory of another great job from our friendly painter!
Sweet!!!
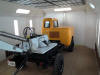
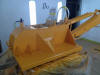
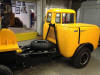
Out of the booth and ready for another part of this adventure to start.
With the operator seat reattached it was time to start another round of reattaching parts back onto the truck.
Here are the original pinhole door panels that came with the truck. All of the original interior components were able to be reused in this restoration! Pretty much unheard of in the Forward Control world!
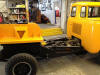
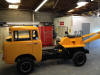
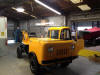
With bumpers and fender flares reinstalled that “Pop” that everyone was looking for was starting to appear.
The Support arm and spare tire are now back on and we’re getting real close!
A final “Rear View” and I think we’re ready for a second unveiling. What an awesome build this has been so far, but we’re not finished just yet…..


 .
.

|
First off the steel was stripped and sanded heavily to get rid of whatever scale it had on it, as it was a bit rough in areas.